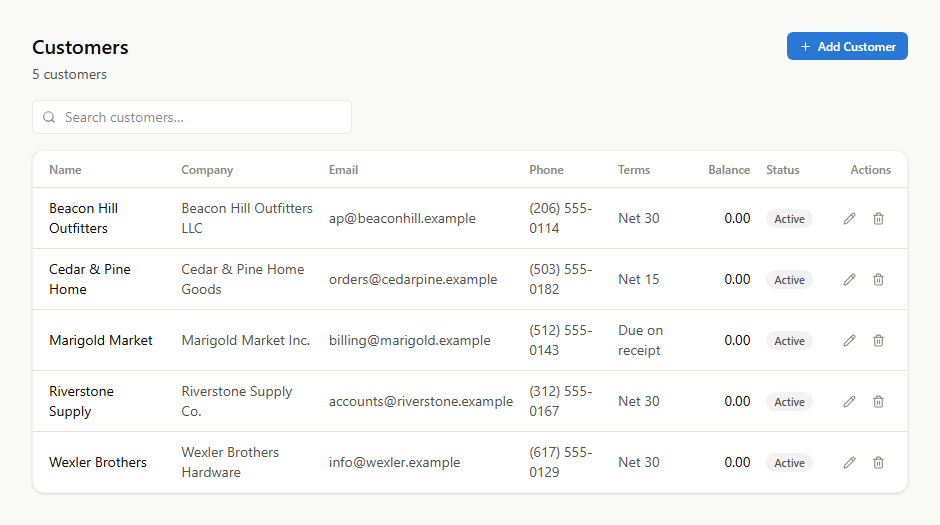
Open Customers in the sidebar and press Add Customer at the top right.
Fill in the form
Only Name is required — the Add customer button stays disabled until you type one. Everything else can be filled in later.
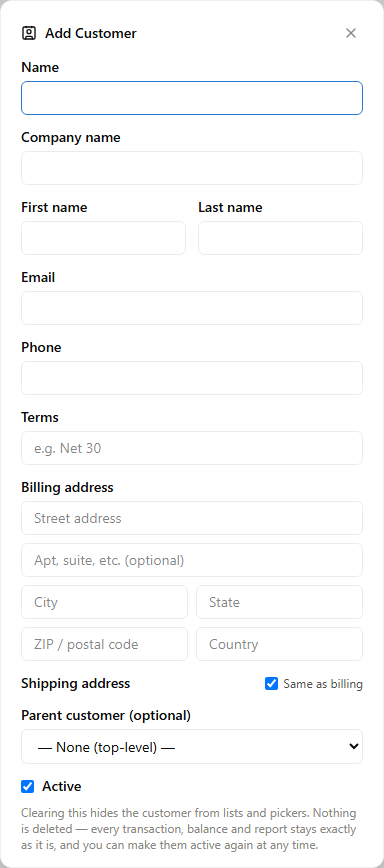
Name is the display name: what you will see in every dropdown, on invoices, and on your A/R Aging. Use whatever you would actually recognize. If you fill in a company or a first and last name first, small suggestion buttons appear under the field so you can use one with a click.
Company name, First name, Last name are stored separately so you can keep both the business and the person you deal with there.
Email is what an emailed invoice goes to. Worth adding for anyone you invoice.
Terms is how long they have to pay — type it as you would say it, like Net 30. This becomes the
default due date when you raise an invoice for them, which is where it saves you time.
Billing address and Shipping address appear on invoices. Tick Same as billing and the shipping fields disappear, which is the usual case.
Parent customer nests this one under another. Use it for a customer with several sites or departments you want reported separately but rolled up together. Leave it as None if that is not you.
Press Add customer to save.
When you actually need one
You need a customer record to raise an invoice — that is, to bill someone and wait to be paid.
You do not need one for marketplace sales. Those arrive already attributed to their channel, and creating a customer per marketplace buyer would give you thousands of records and no benefit. If you only sell on marketplaces, you may never add a customer at all.
Editing and removing
The pencil icon on each row edits. The trash icon deletes — but only while nothing references them. Once a customer appears on an invoice, deleting them would leave that invoice pointing at nobody, so the app refuses and tells you why.
To retire a customer you no longer deal with, edit them and untick Active instead. They vanish from the pickers, and their history stays intact.